Story How is a traditional samurai sword made?
Of all the iconic national symbols, none is more representative of Japan’s time-forged traditions than the samurai sword.
Said to possess a warrior’s very soul, the samurai sword has been marvelled at for its flawless beauty and unrivalled engineering for over a millennium. Centuries ahead of its time, Japanese sword making was passed down from master to pupil for generations and revered as part art, part religious ritual. So how exactly were they made?
How samurai swords were made
The great swordsmiths of Japan were more alchemists than blacksmiths. Requiring a deeply intimate knowledge of chemical metallurgy, the traditional sword making process was anything but straightforward. Dozens of craftsmen would work around the clock for months on end, sometimes longer, to produce a single blade.
Step 1: Making the steel
The starting steel, tamahagane, is produced by smelting iron sand (sand containing iron ore) with charcoal in a large clay furnace known as a tatara. Once the correct temperature is reached, it’s up to the tatara masters to carefully monitor the tatara, feeding in iron sand and charcoal as needed. This step is crucial, and requires the team to be on hand for 72 hours without pause.
Step 2: Sorting the steel
After the three day smelting process is complete, the tatara masters break open the clay furnace to extract the tamahagane. From this, they break apart and separate the steel mass according to carbon content. When expertly combined, high-carbon steel and low-carbon steel will imbue the blade with a razor-sharp edge and toughness, respectively. A sword composed of just one type of steel would result in a blade that would be too brittle or dull easily.
Step 3: Purifying the steel
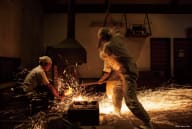
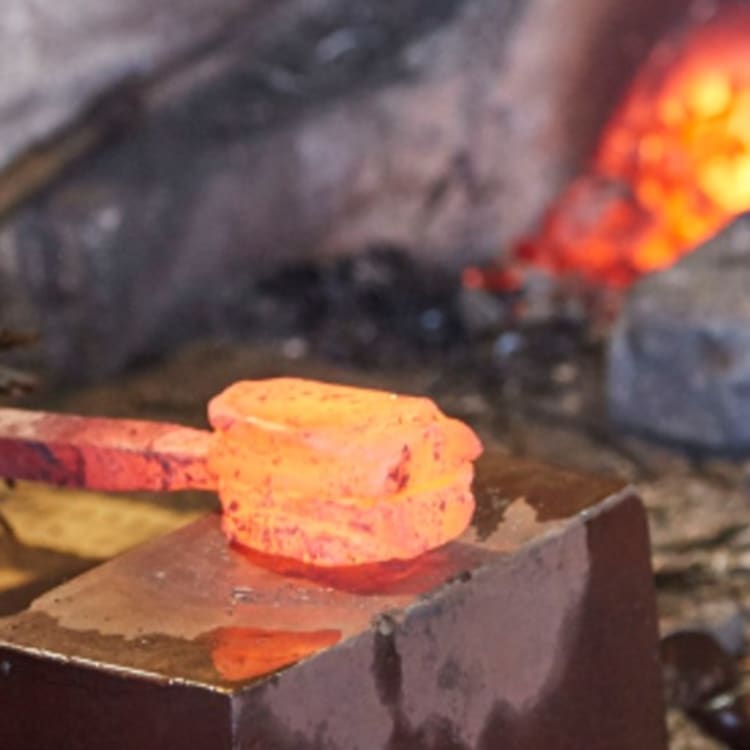
The best pieces of tamahagane are sent to a swordsmith, who heats, hammers, and folds the steels repeatedly—up to 16 times— in order to further combine the iron and carbon, and to draw out any remaining impurities, or ‘slag’.
Step 4: Forging the blade
After the smith hammers all impurities from the different steels, high-carbon steel is heated and shaped into a long piece with a U-shaped channel. The low-carbon steel is also heated and hammered into a strip that fits snuggly into the channel. The two metals are then forged together. Both types of tamahagane are now exactly where they need to be; the hard steel forms the sword's outer shell to provide the sharp edge, while the tough, low-carbon steel serves as the durable core.
Step 5: Coating the blade
With the blade steel now ‘assembled’, it requires one last firing. A thick mixture of clay and charcoal powder is applied to the blade's upper sides and dull back edge, leaving the sword's primary edge only lightly coated. This serves both to protect the blade and to give it its signature wavy design called the hamon, which is revealed later during the final polishing. The blade is then fired to just below 815°C (1500°F). Any hotter and the blade is at risk of cracking.
Step 6 :Curving the blade
The blade is pulled from the fire and plunged or ‘quenched’ into water. The difference in the degree and speed of contraction between the two forms of steel in the blade causes the sword to bend. This process gives the sword its signature curve.
Step 7: Polishing the blade
Now fully forged, the blade is passed to the sword polisher. The blade is meticulously polished with a series of grinding and polishing stones to hone the sword’s razor edge. This polishing step can take several weeks, sometimes months.
Step 8: Mounting the blade
Metalworkers mount the blade with its decorative guard (at the sword's hilt). Carpenters then fit the blade with a lacquered wooden scabbard, which artisans then intricately decorated. The handle is then fashioned with gold, leather and/or stone. These final steps produce finishing touches that are as much a work of art as the blade itself.
Step 9: The final inspection
The finished sword is returned to the swordsmith for its final inspection. If acceptable, the sword is ready to be presented to its new master.

From the battlefront to the kitchen
During the 1300s, a time of war and conflict for Japan, skilled sword masters were in high demand. However, when the shogunate lost its power and the Meiji Restoration period began, Japan sought to modernise, and the samurai class lost their privileges and position within society. With the demand for swords reduced, craftsmen and manufacturers turned their efforts to knife making instead.
Today, the art of Japanese cutlery is a direct descendant of Japanese sword making, with many of the same techniques and designs still being used. With authentic, traditional samurai swords fetching astronomical prices (if you can even find one for purchase), owning a quality, Japanese piece of cutlery is the next best thing.
Some of the best places to purchase Japanese knives and cutlery in Japan are:
Kappabashi street (Tokyo) — a street lined with kitchenware shops
Sakai City, Osaka — approximately 90% of professional chefs in Japan source their knives from Sakai
Seki City, Gifu — a city famous for world famous blades. Don’t miss the Seki Swordsmith Museum.
Miki City, Hyogo — one of Japan’s largest producers of hardware tools and knives

Experience a slice of history
Want to see how traditional tamahagane is made? The Bizen Osafune Sword Museum is one of a limited number of sword museums in Japan and features an impressive collection of Japanese swords. Visitors can also attend a sword maintenance seminar and talk to the craftspeople responsible for the various components of the sword.
In the adjacent workshop, visitors can see the skill of Japanese sword artisans, including the process where tamahagane, the steel traditionally used to make samurai swords, is produced (limited dates and times).
There is also a Japanese Sword Museum in Tokyo dedicated to the art of Japanese sword making, run by the Society for the Preservation of Japanese Art Swords. The museum is a short walk from Ryogoku Station on the JR Sobu Line or Toei Oedo Line.


